Shutterstock
Sunday, Oct. 5, 2014 | 2 a.m.
Fall is in the air, and Halloween rapidly is approaching. That means pumpkin season.
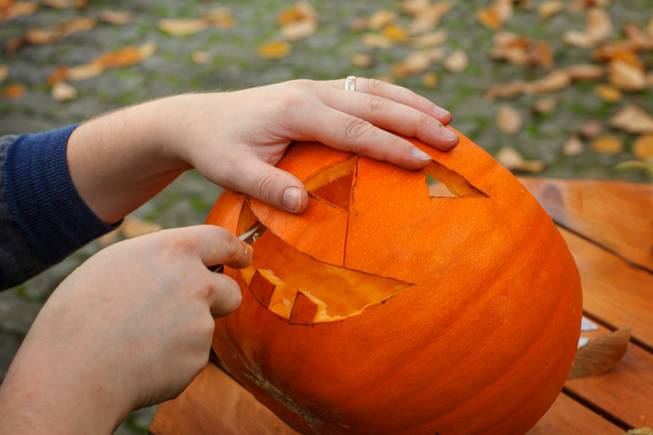
Most people know the basics of carving a jack-o’-lantern: Cut off the top of the pumpkin; stab out some eyes, a nose and a mouth; stick in a candle; and display your creation.
But professional pumpkin artists and experts use several tricks that make their pumpkins stand out and last longer. Most are easy to adapt by even the most novice pumpkin designer.
Plan the perfect design
• Trace stencils with a nail or tack. The etching will give you a guide for cutting.
• Cut off the bottom of the pumpkin instead of coring it to incorporate the top and stem into your design.
• Instead of coring just the top of the pumpkin, cut out a square attached to the core on the pumpkin’s back side for easier scraping and candle insertion.
• Turn your pumpkin on its side before carving so you can use its stem as a nose.
-

Give jack some style
• Instead of carving, make a face or other design using masking or duct tape. Paint the pumpkin with glow-in-the-dark paint, then remove the tape or leave it on. Duct tape comes in dozens of designs that can add additional flair to your gourd.
• Cut a rectangle for your pumpkin’s mouth, then fill it with fake vampire teeth for a scary look.
• Accessorize. Use licorice for hair, wood chips or candy corn for teeth, taffy for a tongue and pillow stuffing and fake blood for brains.
• Use glow sticks instead of candles to light your pumpkin.
• Wrap your pumpkin in fishnet stockings for a sophisticated design. Snip off the foot of a stocking and slip the pumpkin in. Gather the opening at the stem and tie it off at the top with a rubber band or ribbon.
Preserve your pumpkin
• Douse your pumpkin in a bleach solution to preserve it. Mix 1 teaspoon of bleach in a gallon of water, then dunk the pumpkin into the solution to cover it completely. Soak the pumpkin for eight hours. Pat it dry with a sponge or paper towels, then decorate it. Spray the pumpkin with a similar mixture of bleach and water daily.
• Cover cut surfaces with Vaseline to keep them from drying out and curling.
• The ideal temperature for storing a pumpkin is 35-40 degrees. Conditions that are too warm, too cold or too wet will hasten decay. If you carve your gourd ahead of time, keep it in the refrigerator for optimum freshness.
Try these tools
• Use a dry erase marker to draw your pattern. That will allow you to easily wipe off any mistakes before you start carving. If you use a permanent marker, use red ink. Mistakes won’t show in the dark.
• Use metal cookie cutters and a mallet to hammer out flawless designs with ease.
• Use a power drill to make evenly-spaced holes in your pumpkin for a modern design that resembles a starry night.
• If you feel really confident, use a jigsaw to carve. Otherwise, try a wallboard saw instead of a knife for easier carving. Most cost less than $10 at a home improvement store.
• Use an ice cream scoop to remove the pumpkin’s innards. Scrape around the sides starting from the top, then tip the pumpkin over to dump the goop into the trash.


Join the Discussion:
Check this out for a full explanation of our conversion to the LiveFyre commenting system and instructions on how to sign up for an account.
Full comments policy